


Adding embellishments to kids’ clothes can be a fun and creative way to personalize their wardrobe. It’s also a great way to make old clothes look new again.
Kids love wearing unique and colorful clothes. Adding embellishments like patches, beads, or fabric paint can make their outfits stand out. Plus, it’s a great bonding activity for parents and kids. You don’t need to be a sewing expert to add fun details to your child’s clothes.
With a few simple materials and a bit of creativity, you can transform plain garments into something special. This guide will help you learn easy and enjoyable ways to add embellishments to kids’ clothes, making them one-of-a-kind pieces that your children will love to wear.
Why Embellish Kids’ Clothes
Embellishing kids’ clothes can be a fun and rewarding activity. It allows parents to unleash their creativity and add a personal touch to their children’s wardrobe. Embellishments can make clothes stand out, giving them a unique and personalized look that reflects the child’s personality and interests.
Benefits Of Embellishments
Adding embellishments to kids’ clothes offers several benefits:
- Creativity: Parents and children can work together on creative projects.
- Cost-Effective: It is a budget-friendly way to refresh and update clothes.
- Unique Style: Embellishments create one-of-a-kind pieces that can’t be found in stores.
- Bonding Time: Crafting together strengthens the parent-child bond.
Personalizing Wardrobes
Embellishments offer a great way to personalize your child’s wardrobe. They can choose colors, themes, and designs that they love. Here are a few ideas:
- Iron-On Patches: Easy to apply and come in various designs.
- Fabric Paints: Let children paint their own designs on clothes.
- Sequins and Beads: Add sparkle and texture to any outfit.
- Embroidery: Simple stitches can add a handmade touch.
Personalized clothes can boost a child’s confidence. They take pride in wearing something they helped create. It also encourages them to take care of their clothes, knowing they are unique and special.
Choosing The Right Materials
Adding embellishments to kids’ clothes can be a fun and creative activity. The key is choosing the right materials to ensure safety and comfort. This section will guide you through selecting the best materials for your project.
Fabric Types
Selecting the right fabric is crucial. Here are some popular options:
- Cotton: Soft and breathable, perfect for kids’ sensitive skin.
- Denim: Durable and stylish, ideal for pants and jackets.
- Fleece: Warm and cozy, great for winter clothes.
- Jersey: Stretchy and comfortable, suitable for t-shirts and leggings.
Safe Embellishments
Safety is the top priority when adding embellishments to kids’ clothes. Here are some safe options:
- Buttons: Ensure they are securely sewn and not too small to avoid choking hazards.
- Iron-on patches: Easy to apply and durable, they come in various designs.
- Embroidery: Adds a personal touch without any loose parts.
- Fabric paint: Non-toxic and washable, perfect for custom designs.
Always check the materials for any potential allergens. Avoid sharp or small objects that can be swallowed. Happy crafting!
Basic Sewing Techniques
Adding embellishments to kids’ clothes can be a fun and creative activity. Learning basic sewing techniques is essential for this. Whether you prefer hand stitching or using a sewing machine, these techniques will help you add unique touches to your child’s wardrobe.
Hand Stitching
Hand stitching is a simple yet effective way to add embellishments. It requires minimal tools and is perfect for detailed work.
- Running Stitch: This is the most basic stitch. It’s ideal for attaching small patches or beads. Insert the needle in and out of the fabric at regular intervals.
- Backstitch: Strong and secure. It’s great for seams and attaching heavier embellishments. Create a stitch, then bring the needle back one step and repeat.
- Blanket Stitch: Perfect for edges and decorative finishes. Loop the thread around the edge to create a neat border.
Machine Sewing
Machine sewing allows you to work faster and handle larger projects. It’s ideal for adding fabric embellishments like ruffles and appliqués.
- Prepare Your Machine: Check the needle and thread. Ensure they suit the fabric you’re working with.
- Set the Stitch Type: Use a straight stitch for most embellishments. Zigzag stitches are good for securing edges.
- Attach the Embellishment: Place the fabric under the presser foot. Slowly sew, guiding the fabric with your hands.
Using a sewing machine can seem daunting. But with practice, it becomes easy and efficient.
These basic sewing techniques will help you create beautiful and unique clothing for your kids.
Using Fabric Paints
Fabric paints are a great way to add a personal touch to kids’ clothes. These paints come in many colors and styles. They can transform plain clothes into something special. Kids love them because they can create their own designs. Parents love them because they are easy to use. Let’s explore the different types of fabric paints and how to apply them.
Types Of Fabric Paints
There are several types of fabric paints available. Each type has its own unique features and benefits.
- Acrylic Fabric Paints: These are the most common. They are water-based and easy to use. They dry quickly and are very durable.
- Dimensional or Puffy Paints: These create a raised effect. They are fun for adding texture and details.
- Fabric Spray Paints: These are great for covering large areas. They are also good for creating gradient effects.
- Fabric Markers: These are like regular markers but designed for fabric. They are perfect for detailed work and small designs.
Application Methods
There are different ways to apply fabric paints. Each method can create different effects.
- Brushes: Use brushes for detailed designs. Small brushes are good for fine lines. Larger brushes are good for filling in areas.
- Sponges: Sponges are good for creating textures. They can also be used for stenciling.
- Stencils: Stencils are templates that you can place on the fabric. Paint over the stencil to create a design. This is good for repeating patterns.
- Freehand: Freehand painting allows for creative freedom. Kids can draw and paint whatever they like.
| Type | Best For | Drying Time |
|---|---|---|
| Acrylic Fabric Paints | General use | 1-2 hours |
| Dimensional Paints | Adding texture | 4-5 hours |
| Fabric Spray Paints | Large areas | 30 minutes |
| Fabric Markers | Detailed work | 1 hour |
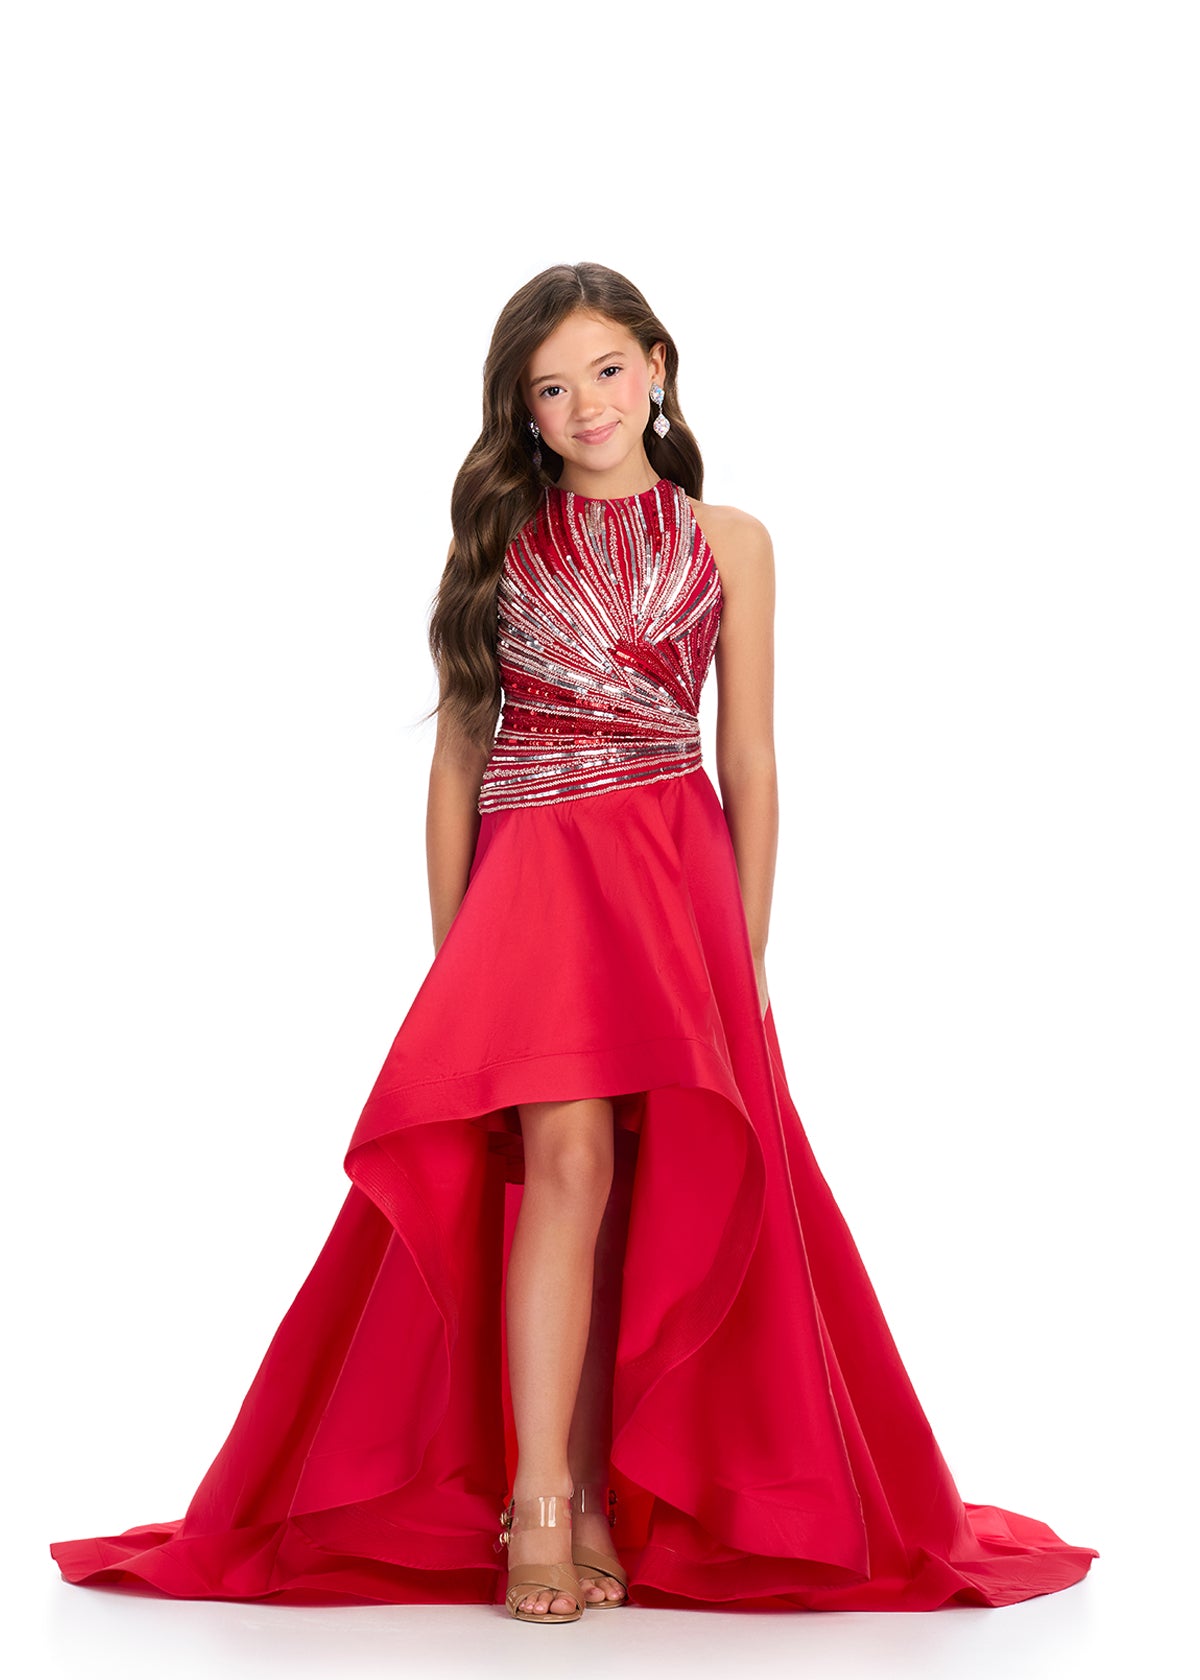
Adding Patches And Appliques
Adding patches and appliques is a fun way to personalize kids’ clothes. These embellishments can transform plain garments into unique pieces. They also help cover up stains or tears. Learn how to add iron-on patches and sew-on appliques to your child’s clothes.
Iron-on Patches
Iron-on patches are easy to apply. They come with a heat-activated adhesive on the back. Follow these simple steps to attach them:
- Preheat your iron to the recommended setting.
- Place the patch on the fabric.
- Cover the patch with a thin cloth.
- Press the iron on the patch for 15-20 seconds.
- Let the patch cool for a few minutes.
Iron-on patches are great for quick fixes. They come in many shapes and designs. Choose one that matches your child’s style.
Sew-on Appliques
Sew-on appliques offer a secure and durable option. They require a bit more effort but last longer. Here’s how to sew them on:
- Place the applique on the fabric.
- Pin it in place using straight pins.
- Thread a needle with matching thread.
- Sew around the edge of the applique using small stitches.
- Knot the thread on the inside of the garment to secure.
Sew-on appliques can be intricate and detailed. They add a special touch to any outfit. Choose designs that reflect your child’s interests.

Credit: www.glassslipperformals.com
Incorporating Beads And Sequins
Incorporating beads and sequins into kids’ clothes can turn plain outfits into eye-catching pieces. These small additions can add a touch of sparkle and fun, making any garment more exciting and unique. Below, we explore some design ideas and tips for attaching beads and sequins securely.
Design Ideas
Adding beads and sequins to kids’ clothes offers countless design possibilities. Here are some ideas:
- Patterns: Create simple patterns like flowers, stars, or hearts.
- Names: Spell out the child’s name on a shirt or dress.
- Shapes: Outline existing shapes on the fabric with beads or sequins.
- Random Sprinkles: Scatter beads and sequins randomly for a fun, whimsical look.
Attachment Tips
To ensure beads and sequins stay in place, follow these tips:
- Use Strong Thread: Opt for polyester or nylon thread for durability.
- Double Stitch: Secure each bead or sequin with a double stitch.
- Backstitch: Use a backstitch technique to prevent them from coming loose.
- Glue Option: Fabric glue can be used for extra security, especially for sequins.
- Test First: Always test your attachment method on a small fabric piece.
| Material | Best Use |
|---|---|
| Polyester Thread | Durable and strong for beads |
| Nylon Thread | Ideal for sequins |
| Fabric Glue | Extra security for sequins |
Adding beads and sequins to kids’ clothes is a fun way to personalize their wardrobe. With these design ideas and attachment tips, you can create beautiful, sparkly pieces that kids will love to wear.
Creating Custom Embroidery
Adding embellishments to kids’ clothes can make them unique. One way to do this is through custom embroidery. It’s a fun and creative way to add a personal touch. You can start with simple patterns or explore advanced techniques.
Simple Embroidery Patterns
Simple embroidery patterns are a great way to start. They are easy and quick to do. Here are some basic patterns you can try:
- Flowers: Use a simple daisy stitch.
- Hearts: Outline with a backstitch.
- Stars: Use straight stitches.
- Initials: Create with a running stitch.
You only need a few supplies to get started. These include:
| Supplies | Description |
|---|---|
| Embroidery Hoop | Holds fabric tight. |
| Embroidery Floss | Thread for stitching. |
| Needles | Sharp, with a large eye. |
| Fabric | Cotton or linen works well. |
Advanced Techniques
Once you feel confident, try some advanced techniques. These can add more detail and texture. Some advanced techniques include:
- French Knots: Great for adding small dots.
- Chain Stitch: Creates a textured line.
- Feather Stitch: Ideal for borders.
- Shading: Use different thread colors for depth.
Advanced techniques require practice. Start with small projects to build your skills. YouTube tutorials can be very helpful for learning new stitches.
Adding custom embroidery makes kids’ clothes special. It’s a skill worth learning. Plus, it adds a personal touch that kids will love.
Credit: www.glassslipperformals.com
Using Fabric Markers
Adding embellishments to kids’ clothes can be a fun and creative project. Using fabric markers is one of the easiest ways to personalize clothing. These markers come in various colors and types. They allow for endless design possibilities. Let’s explore some tips and ideas for using fabric markers effectively.
Design Inspiration
Before starting, gather some design inspiration. Think about your child’s favorite characters, animals, or shapes. Simple patterns like stars, hearts, or flowers are also great options. You can also draw freehand if you feel confident. Tracing stencils can help achieve more intricate designs.
Look at online resources for ideas. Websites, social media, and craft blogs have many suggestions. Save pictures that inspire you. These will serve as references while you work on your project.
Permanent Vs. Washable
Fabric markers come in two main types: permanent and washable. Permanent markers are best for long-lasting designs. These won’t fade after washing. If you want the design to stay vibrant, choose permanent markers.
Washable markers are suitable for temporary designs. These are great if you like to change designs often. They are also easier to clean up if mistakes happen. Consider your needs and choose the type that fits best.
Adding Ribbons And Laces
Adding ribbons and laces to kids’ clothes can make them look charming and unique. This simple touch can transform plain outfits into something special. It’s an easy and fun way to personalize clothing, making it more exciting for children to wear. Let’s explore some creative ways to add these embellishments and ensure they stay in place.
Placement Ideas
Finding the right spot for ribbons and laces can be fun. Here are some creative ideas:
- Collars: Add a small ribbon bow at the center of the collar.
- Waistbands: Use lace to create a delicate trim around the waistband.
- Pockets: Attach ribbons to the edges of pockets for a cute detail.
- Cuffs: Wrap lace around the cuffs of sleeves or pants.
- Hems: Sew a strip of lace along the hem of a dress or skirt.
These placements can add a touch of elegance and fun to any piece of clothing.
Securing Tips
Ensuring ribbons and laces stay in place is important. Here are some tips to secure them effectively:
- Sewing: Use a needle and thread to sew the ribbon or lace securely. Double-stitching can provide extra strength.
- Fabric Glue: For a quick fix, fabric glue works well. Apply a small amount to the back of the ribbon or lace and press firmly onto the fabric.
- Heat Adhesive Tape: This is great for non-sewing options. Place the tape between the ribbon/lace and the fabric, then iron it to activate the adhesive.
- Safety Pins: Use small safety pins to attach ribbons temporarily. This is perfect for adjustable and removable decorations.
Choose the method that best suits the fabric and intended use. This ensures the embellishments stay neat and secure.

Credit: www.outfiten.com
Iron-on Transfers
Adding iron-on transfers to kids’ clothes can turn plain garments into fun, unique pieces. These transfers are easy to use and come in many designs. They are perfect for personalizing clothing without sewing. Here’s how to get started with iron-on transfers.
Choosing Designs
Picking the right design is crucial. Think about your child’s interests. Do they love animals, sports, or cartoons? Choose designs that reflect their personality. Here are some popular options:
- Animals: Puppies, kittens, dinosaurs
- Sports: Soccer balls, basketballs, baseball bats
- Cartoons: Favorite characters from TV shows or movies
- Shapes: Stars, hearts, flowers
Look for high-quality transfers. Check reviews before buying. This ensures the design will last through washes.
Application Process
Applying iron-on transfers is simple. Follow these steps for best results:
- Preheat the iron: Set it to the cotton setting without steam.
- Prepare the fabric: Lay the garment on a flat surface. Ensure it is clean and wrinkle-free.
- Position the transfer: Place the design face down on the fabric. Make sure it is centered.
- Cover with a cloth: Use a thin cloth or parchment paper to protect the transfer.
- Iron the transfer: Press the iron firmly over the cloth for 15-20 seconds. Move slowly and apply pressure.
- Peel the backing: Let it cool for a minute. Carefully peel off the backing paper.
After applying the transfer, let the garment cool completely. This helps the design set properly.
Iron-on transfers can add a personal touch to kids’ clothes. Choose the right design and follow the application steps. Your child will love their new, customized outfit!
Using Stencils And Spray Paint
Transforming kids’ clothes can be fun and easy with stencils and spray paint. This method adds vibrant designs and personal touches. Kids will love their new, unique outfits. Let’s dive into the details on how to use stencils and spray paint to create beautiful designs.
Creating Stencils
First, gather your materials. You will need stencil sheets, a craft knife, and a cutting mat. Draw or print your desired design on the stencil sheet. Cut out the design carefully with the craft knife. Ensure the edges are smooth for a clean look.
Position the stencil on the clothing where you want the design. Secure it with painter’s tape to prevent movement. This will help keep the stencil in place and avoid smudging.
Spray Painting Techniques
Choose fabric spray paint in your child’s favorite colors. Shake the can well before use. Hold the spray paint can about 6 inches away from the stencil. Spray in light, even coats to avoid drips and ensure even coverage.
Allow the paint to dry completely. Remove the stencil carefully to reveal the design. If desired, repeat the process with different colors or designs. This technique can create amazing patterns and styles on any clothing item.
Repurposing Old Clothes
Repurposing old clothes is a fantastic way to breathe new life into your kids’ wardrobe. It’s an eco-friendly practice that encourages creativity and resourcefulness. By using materials you already have, you can create unique and personalized pieces for your children. Plus, repurposing can save money and reduce waste.
Upcycling Ideas
Upcycling old clothes can be fun and easy. Start with simple changes and build your skills over time. Consider these ideas:
- Turn an old t-shirt into a dress by adding a skirt.
- Transform jeans into shorts and add cute patches.
- Use fabric from adult clothes to create new items for kids.
These ideas not only give old clothes a new life but also create one-of-a-kind pieces for your children to wear and enjoy.
Combining Fabrics
Combining fabrics from different clothes can lead to interesting and unique designs. Experiment with colors and textures for a creative touch. For example:
| Fabric Type | Use |
|---|---|
| Denim | Use for patches or pockets. |
| Cotton | Great for soft, comfortable clothing. |
| Lace | Add for decorative touches. |
Mixing different fabrics can make a simple piece more interesting. It adds texture and dimension to the clothes. Remember to keep it balanced and not overdo it.
Repurposing old clothes is a creative way to make your kids’ outfits special. It’s fun and eco-friendly too!
Caring For Embellished Clothes
Adding embellishments to kids’ clothes can make them unique and fun. But these special touches need extra care to stay looking great. Follow these tips to keep embellished clothes in good condition.
Washing Tips
Wash embellished clothes with care to avoid damage. Here are some tips:
- Turn clothes inside out: This helps protect embellishments from rubbing against other clothes.
- Use a gentle cycle: Choose the delicate or gentle cycle on your washing machine.
- Cold water only: Cold water is less harsh on embellishments.
- Hand wash if needed: For very delicate items, hand washing is best.
Maintenance Advice
Proper maintenance ensures your child’s embellished clothes last longer. Follow these tips:
- Store carefully: Hang or fold clothes without crushing embellishments.
- Check for loose parts: Regularly inspect for loose beads, sequins, or buttons.
- Repair immediately: Fix any loose embellishments right away to prevent further damage.
- Avoid ironing: Ironing can damage embellishments. If needed, use a low heat setting and place a cloth over the embellishment.
Taking these steps will help your kid’s embellished clothes look their best. With a little extra care, these special pieces can be enjoyed for a long time.
Frequently Asked Questions
What Materials Are Good For Embellishing Kids’ Clothes?
Felt, fabric paint, and ribbons are great. They’re safe and fun. Easy to use.
How Do I Attach Embellishments Safely?
Sew or use fabric glue. Make sure they are secure. Check often for loose parts.
Can I Wash Embellished Clothes In A Machine?
Yes, but use a gentle cycle. Turn the clothes inside out. Air dry to protect decorations.
Are There Any Embellishments To Avoid?
Avoid small beads and sequins. They can be choking hazards. Choose larger, secure items instead.
Conclusion
Adding embellishments to kids’ clothes can be fun and creative. It allows you to personalize their wardrobe easily. You can use patches, buttons, or fabric paint. Each method offers a unique touch. Plus, it’s a great way to bond with your child.
Start with simple designs and build your skills. Your child will love their new, unique outfits. Remember, the goal is to make clothes special and fun. Happy crafting!


